Showing posts with label garlic. Show all posts

Saturday, February 25, 2012

Cooking Mishaps

Have you ever had a cooking attempt turn into something more like a science project? Several months ago I tried a recipe for something (I don't remember what) but was so surprised when my concoction turned blue.


This was garlic sauteed in some olive oil, tossed with capers, lemon juice and white wine. I had NO idea but knew my husband wouldn't eat it so I threw it out.

Well, tonight I had a similar problem. I saw this on Pinterest and couldn't wait to try it. This, being the first Friday in Lent and my husband being a practicing Catholic, I absolutely HAD to try it!


First, I tossed it with Angel Hair and some shredded Parmesan and it was soooo good! Good, that is, despite the blue garlic :(


See that? So, I did some googling and it turns out my garlic is immature (ha ha...me TOO!) and it's having a chemical reaction with the acid in the lemons. Who knew? At least it still tasted fantastic. It was light and lemony and so good. I'm a lemon freak and this really hit the spot. Head on over to Cinnamon Girl Recipes and check out this recipe. I'll be making this Roasted Garlic Herb Shrimp again for sure. I'll just be sure to use mature garlic next time!

On another note, I've finally picked out which shade of blue to use in the nursery and we're going to get started on clearing out and painting this weekend. I'll be sure to post lots of pics of the process!

Have a great weekend!

Thursday, May 5, 2011

Knock-Off Bean Dip

Early last week one of my new favorite bloggers, Bianca at Little Brick Ranch, posted her recipe for black bean dip. I've been craving it like crazy since I saw her post and I was inspired by how easy it looked! Well, I decided to make it a little easier by using canned black beans (dried would have been better, I'm sure) and adding my own little touches. Aren't personal touches what make knock-offs so great?


I started with two cans black beans, drained and well-rinsed, and added three cloves garlic. You know I can't do anything without garlic! I added these to the food processor.


Bianca added cumin, cayenne, salt and pepper. I didn't have any cayenne so I substituted Tabasco and because I used canned beans I decided to forgo the salt. I also added a little more cumin than she did because that's just how I roll :)

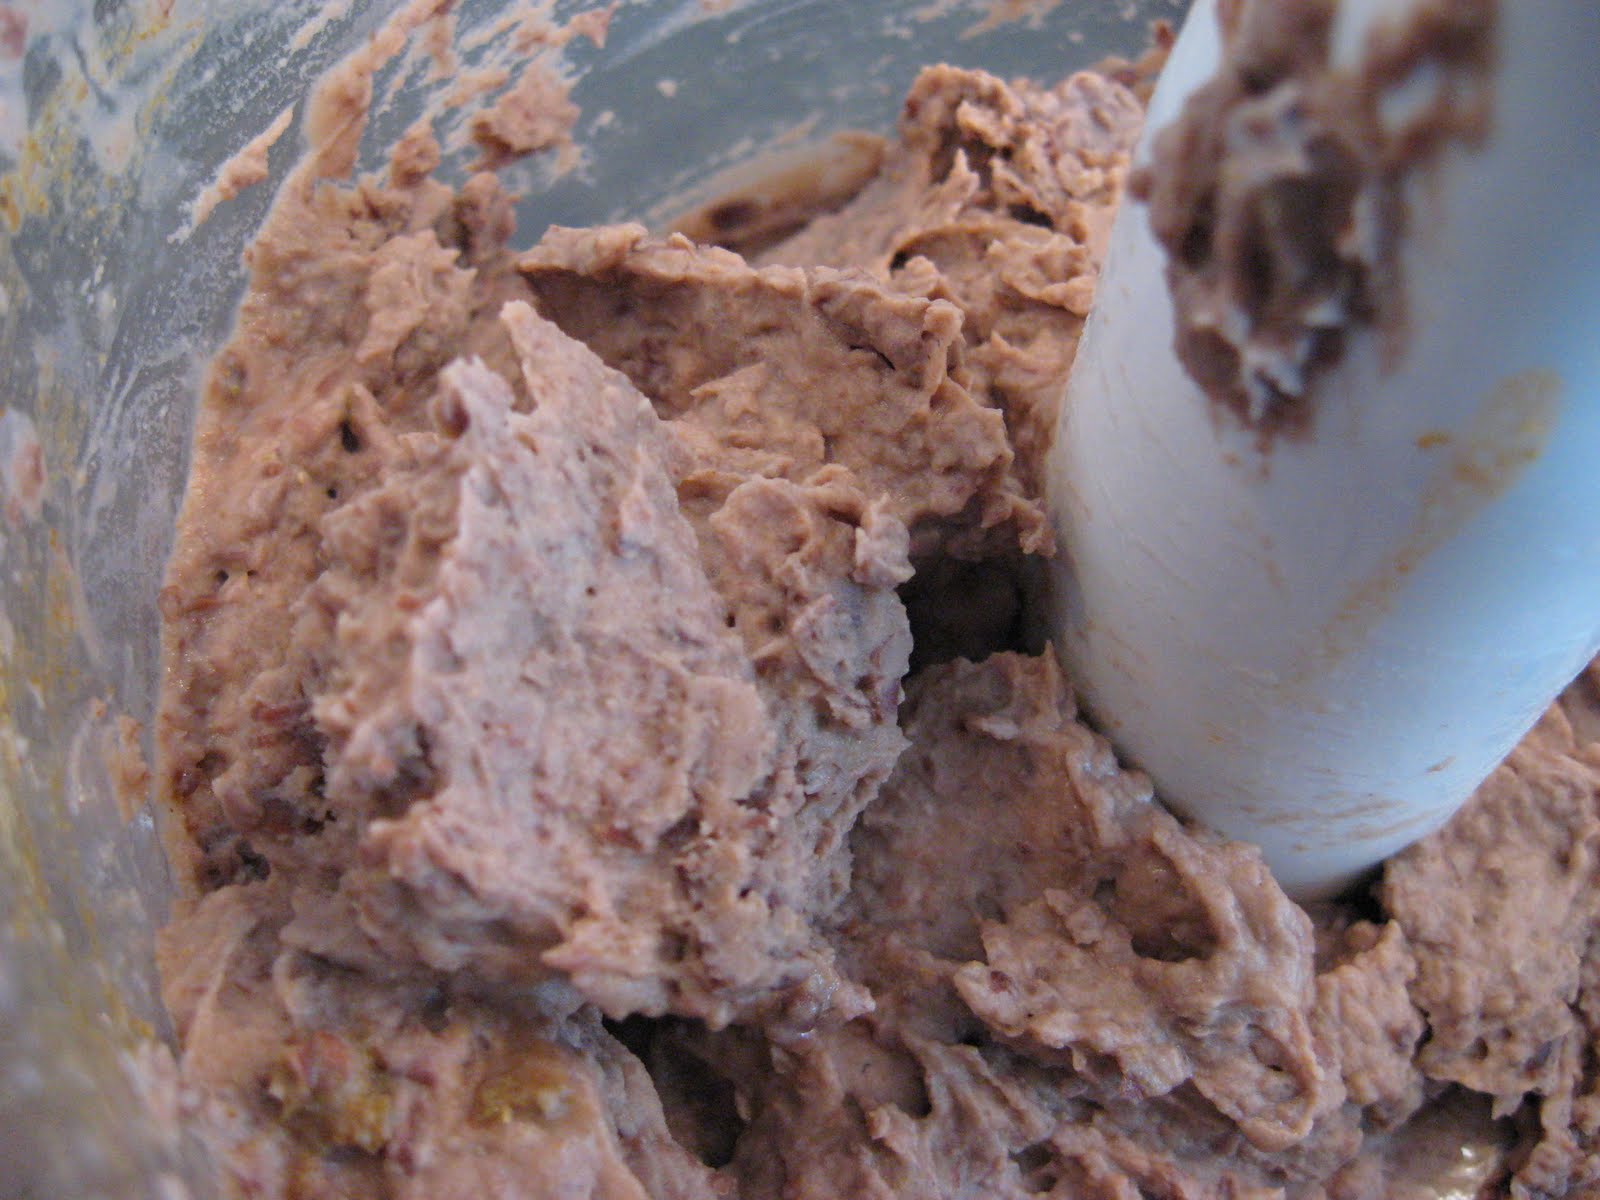
I added about a tablespoon of olive oil (really, I don't measure) and about a quarter cup of water and just let it go on high until it was about the right consistency.

I added a little more water as I went and just watched it until it looked right.

Viola! This actually lasted about a day because my daughter and husband loved it so much. Maybe I'll have to make some more in honor of Cinco de Mayo....

Seriously, this dip was so easy and so good. This will be a party staple for me from now on! Thank you SO MUCH to Bianca for posting your recipe!

Saturday, February 19, 2011

We're Having a Party...

Well folks, it has been a crazy week in this house. Since the party last Saturday we took advantage of beautiful weather to work on some spray paint projects, I got pneumounia (again!) and we started our guest room/office re-do. This project is going to be big, people, and I am SO excited to have a designated place for crafting, sewing and blogging!

Anyway, I've been promising recipes and food shots from this party so here goes.

My first item was those yummy cheesy, bacony, oniony pastries in the bottom right.


I used crescent rolls, Swiss and cream cheese, green onions and a jar of bacon pieces. You could use bacon bits but I really like the bigger pieces.


I added the whole jar of bacon and some ground black pepper to my softened cream cheese.


I sliced a few bundles of the onions into the mix.


And added about a quarter cup or so of Swiss.


I mixed and mixed and mixed...


...and spread the mixture (somewhat flat) on to some plastic wrap.


Wrapped it up tightly and put it in the fridge overnight.


The next day I took my crescent rolls and made a sheet out of them. I just laid them out and overlapped the edges a little bit...


...and rolled it out. Pillsbury does make crescent roll sheets for this purpose but it is so much cheaper to just do it yourself.  I used four cans of the rolls - two for the bottom and two for the top.


I cut up the filling mixture from the day before and spread them evenly over the bottom crust.


...and draped the top crust over that.


I pressed the edges down and cut each individual piece out.


and formed them into balls with the top layer tucked under.


I brushed the tops with beaten egg whites so they would get nice and shiny, golden brown when they were done.


I baked these according to the package directions for plain crescents. They ended up staying in a bit longer, I just watched them and when they were brown and looked done, I took them out. These were such a big hit and were the only real request the birthday girl had. I love these!


Next, I decided to make a traditional tomato bruschetta topping.


I used about a half a large red onion, fresh basil, garlic, fresh tomatoes and balsamic vinegar.

In a glass (or other non-reactive material) 9x13 baking dish I diced my onion and about 3 or 4 cloves garlic

I was so thankful for the help I got from Princess Aurora and Prince Philip...


I seeded and chopped my tomatoes.


...added some coarsely chopped fresh basil.


I doused it in the balsamic and spread it out in the bottom of the pan. I refrigerated it overnight, stirring every few hours.


About an hour before serving I transferred it to a bowl using a slotted spoon to strain it a little bit. I garnished with a little more freshly chopped basil and viola - beautiful, yummy tomato bruschetta topping. This is one of my favorite all time appetizers - spoon it on some crostini (below) and it is low-fat and satisfying!  This also works so well for leftovers stirred into cooked angel hair with a sprinkling of fresh parmesean...love!


Next I decided to try a spin on a favorite appetizer, the ham-wrapped dill pickle.

I don't know why this picture won't let me rotate it. I tried everything I could think of and it kept going back to this orientation. Anyhow, these are the three ingredients - baby dills, deli sliced ham and cream cheese.


I chopped the pickles somewhat finely. This is why I used baby dills, they have fewer seeds and are a bit more firm.


I chopped the ham into similar sized pieces. I like to use the thicker sliced ham. Thinly sliced just doesn't add as much flavor to me. It is possible this is just in my head :)


I added ham and pickles to softened cream cheese, adding a little bit of pickle juice to thin it out a little more and make it easier to mix.


I refrigerated the mixture overnight and the next day transferred to a new bowl. I garnished with some freshly chopped pickles and ham and served with mini pretzels. I was thrilled with the end result and will be making this again for sure.


It wouldn't have been a party without some awesome spinach dip...

This is a favorite of so many people I know and so easy to make but still seems impressive (because so many people don't know how to make it!). The base recipe comes from the back of a packet of Knorr Vegetable Soup mix but I add coarsely ground black pepper and choped tomato. You need the soup mix, thawed frozen chopped spinach (you can use canned but it is nowhere near as good and too mushy), real mayo, sour cream, water chestnuts, green onions and fresh chopped tomato.

Mix the soup mix with half cups each of sour cream and mayo. Add chopped green onions (to taste - I like a lot) and fresh ground black pepper.

The recipe calls for a whole can of chopped water chestnuts but I have never used that much. I finely chop about a third of the can at most. (Sorry, another weird orientation)


I put my thawed spinach in a clean towel that I don't care about (because it stains) and squeeze it to get all the liquid out.


Add the spinach and some chopped tomatoes to the rest and mix well.


Refrigerate at least two hours. I prefer to make it a day ahead.


The next day I transferred it to a new bowl and garnished with freshly chopped tomatoes and green onions.  I served this with cubed French bread. I've seen this served in a bread bowl and sure, that is pretty but just not worth it to me.

The last thing I made was crostini. I sliced a french loaf on a bias and made two different types.


The one on top in the picture is spread with Caesar dressing and the bottom one is spread with garlic-infused olive oil.


I just popped them in the oven for five minutes or so after topping them just so they could get a little crunchy. The Caesar ones were a big hit. I got the idea from a local restaurant, this how they do it and I love it.

I served these with the tomato bruschetta topping and some roasted garlic cheese spread I talked about here.
It was a great night with good food, good friends, good drinks and good conversation. I can't wait to do it again!

Wednesday, December 29, 2010

Roasted Garlic Mashed Potatoes

Welcome back! I hope everyone had a fantastic Christmas :) Ours was fantastic. We are so blessed and truly thankful for having everything we could possibly need. This Christmas was special for me - I have a brother in the Air Force who is stationed at Osan AFB in South Korea. He's 26 and attended college away from home but this was the first Christmas he hasn't been able to make it home and our first Christmas where we weren't all together.

My dad ended up making the journey to Korea to be with him (which is special in and of itself!) so my mom came to celebrate Christmas (her first without my dad since they were married) with us at our house. We had a great evening on Christmas Eve with dinner, presents and a surprise Skype session with my dad and brother :) 

Anyway...to compliment our traditional Christmas Eve dinner of shrimp, I made roasted garlic mashed potatoes and orange glazed carrots. Since I know some people are intimidated by roasting garlic, I thought I would share the process. ( I don't know why anyone would be intmidated by this - maybe because it sounds yummy?)


I started with three whole bulbs garlic.


and sliced the top off (leaving the root end intact to keep the garlic together)


I rubbed some olive oil into the cut end making sure it was totally covered.


I wrapped each bulb loosely in foil. One easy way to do this is by putting them in muffin tins and looosely covering but I guess my husband threw away all of our muffin tins. Hmm. I wonder why.


Bake at 400 degrees for 35-40 minutes, remove from oven, unwrap and allow to cool enough to handle.


I don't know how it happend but a few of these warm, yummy cloves ended up in my mouth before they even hit the bowl...

There are so many things you can do with these - mash into some softened butter to use on garlic toast, add them to a salad or pasta, mash them directly on crusty bread...oh, the possibilites are endless!


I mashed mine in with a brick of softened cream cheese to add to my mashed potatoes.


I added a little fresh ground black pepper...this mixture by itself was so good and would have made a fantastic dip.


Oh yeah. This post was about mashed potatoes...I got kind of carried away with my garlic :)  I washed, peeled and diced about three pounds of potatoes. I know that Yukon Gold or Russet make the best mashed but this is ND. We're serious about our red potatoes.


Put your diced potatoes (about one inch pieces) in a large pot and add enough cold, salted water just to cover. Simmer until fork-tender, about 15 minutes.


Put drained, hot potatoes in a big bowl with cheese/garlic mixture, about 1 cup warm milk and 1/2 stick butter, softened.  Mix well.


I don't have any pictures of the finished product, mostly because they looked and smelled so good that we couldn't wait to eat them :)

I hope you all had a great Christmas. Do you have any traditional meals for Christmas Eve? 
Related Posts Plugin for WordPress, Blogger...